




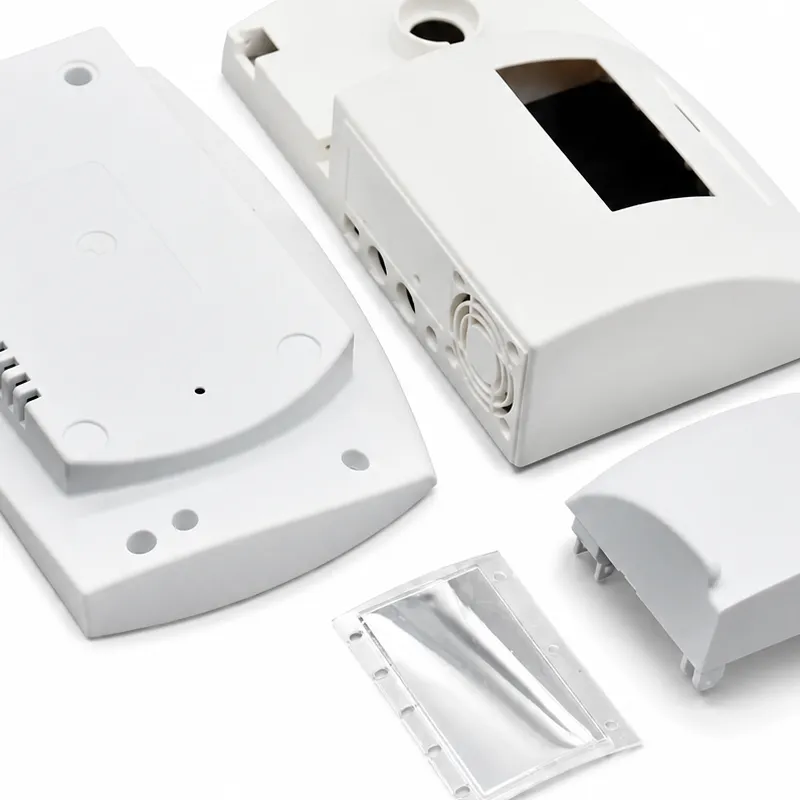
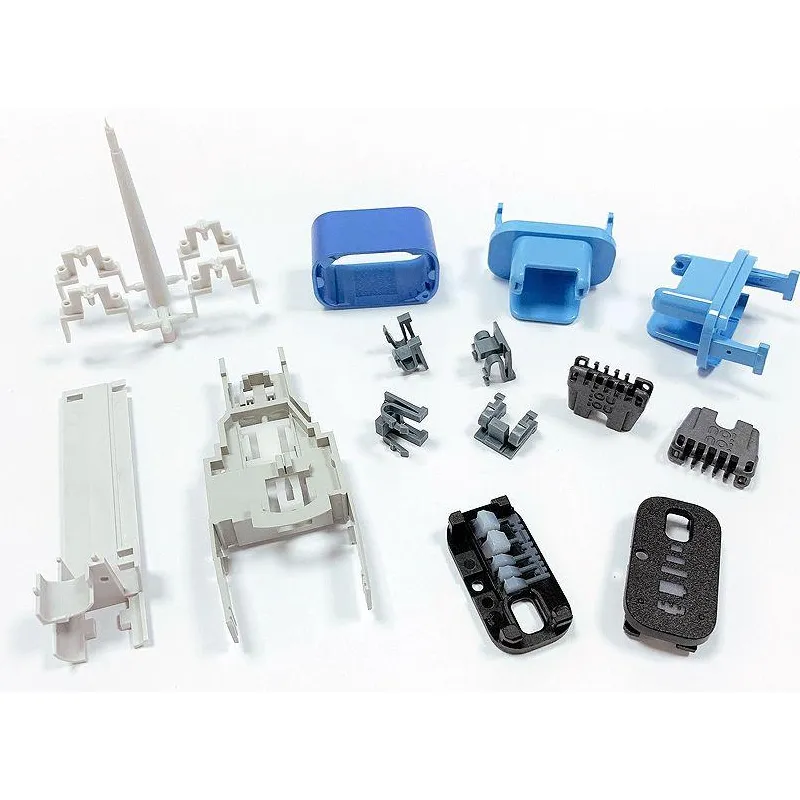



A prototype can look finished and still tell you very little about production readiness. A painted appearance model may prove proportions but not snap performance. A CNC part may prove assembly but behave differently from a molded part. A 3D printed housing may prove space claim but not sealing. So the useful question is not “Do we have a prototype?” It is “Which uncertainty did this prototype close?”
| Key idea: Prototype complete ≠ design validated. Every prototype should exist to answer a defined question before the next decision becomes more expensive. |
1. What should a functional prototype prove?
Start with the decision that follows the prototype. If the next step is production tooling, list the failures that could still force a geometry, material, interface, or architecture change after steel is cut. Those are the risks the prototype plan should target.
A rapid prototyping process is useful only when the process and material are appropriate for the question. Appearance, fit, load, sealing, thermal performance, snap behavior, and user handling may need different prototype methods.
2. Why is “test everything” usually a poor test plan?
Because broad testing often produces broad observations: “seems strong,” “fits okay,” or “looks good.” Those comments are hard to use later when a design decision is challenged. A stronger test plan connects each risk to a method, sample condition, acceptance criterion, and result.
For example: “snap arm must assemble five times without whitening or cracking” is more useful than “check snap.” “Gasket must maintain continuous contact around the perimeter after assembly” is more useful than “check sealing.” Specific criteria turn prototype feedback into engineering evidence.
3. Which risks deserve priority?
Prioritize risks that are expensive to change after tooling: enclosure architecture, mating interfaces, clip positions, sealing lands, connector locations, sensor windows, load paths, thermal clearances, and human-interface geometry. Cosmetic details can matter, but not every cosmetic question requires the same prototype stage.
If the team is unsure which risks are structural, manufacturing-related, or assembly-related, a short engineering review can separate them before prototypes are ordered.
4. How do you choose the right prototype process?
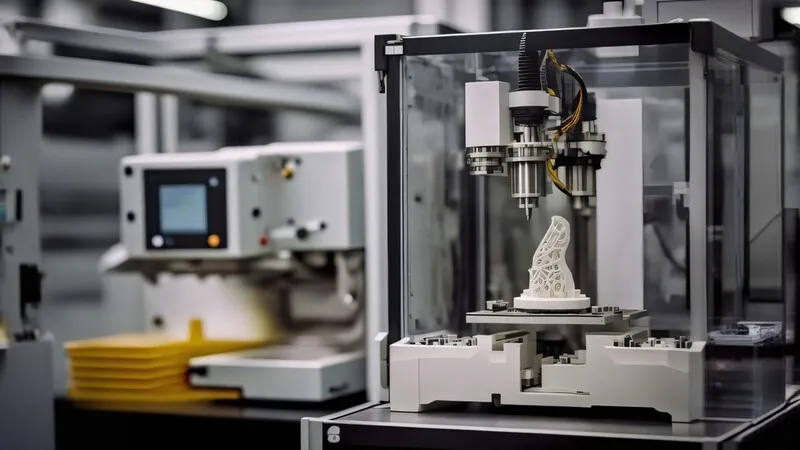
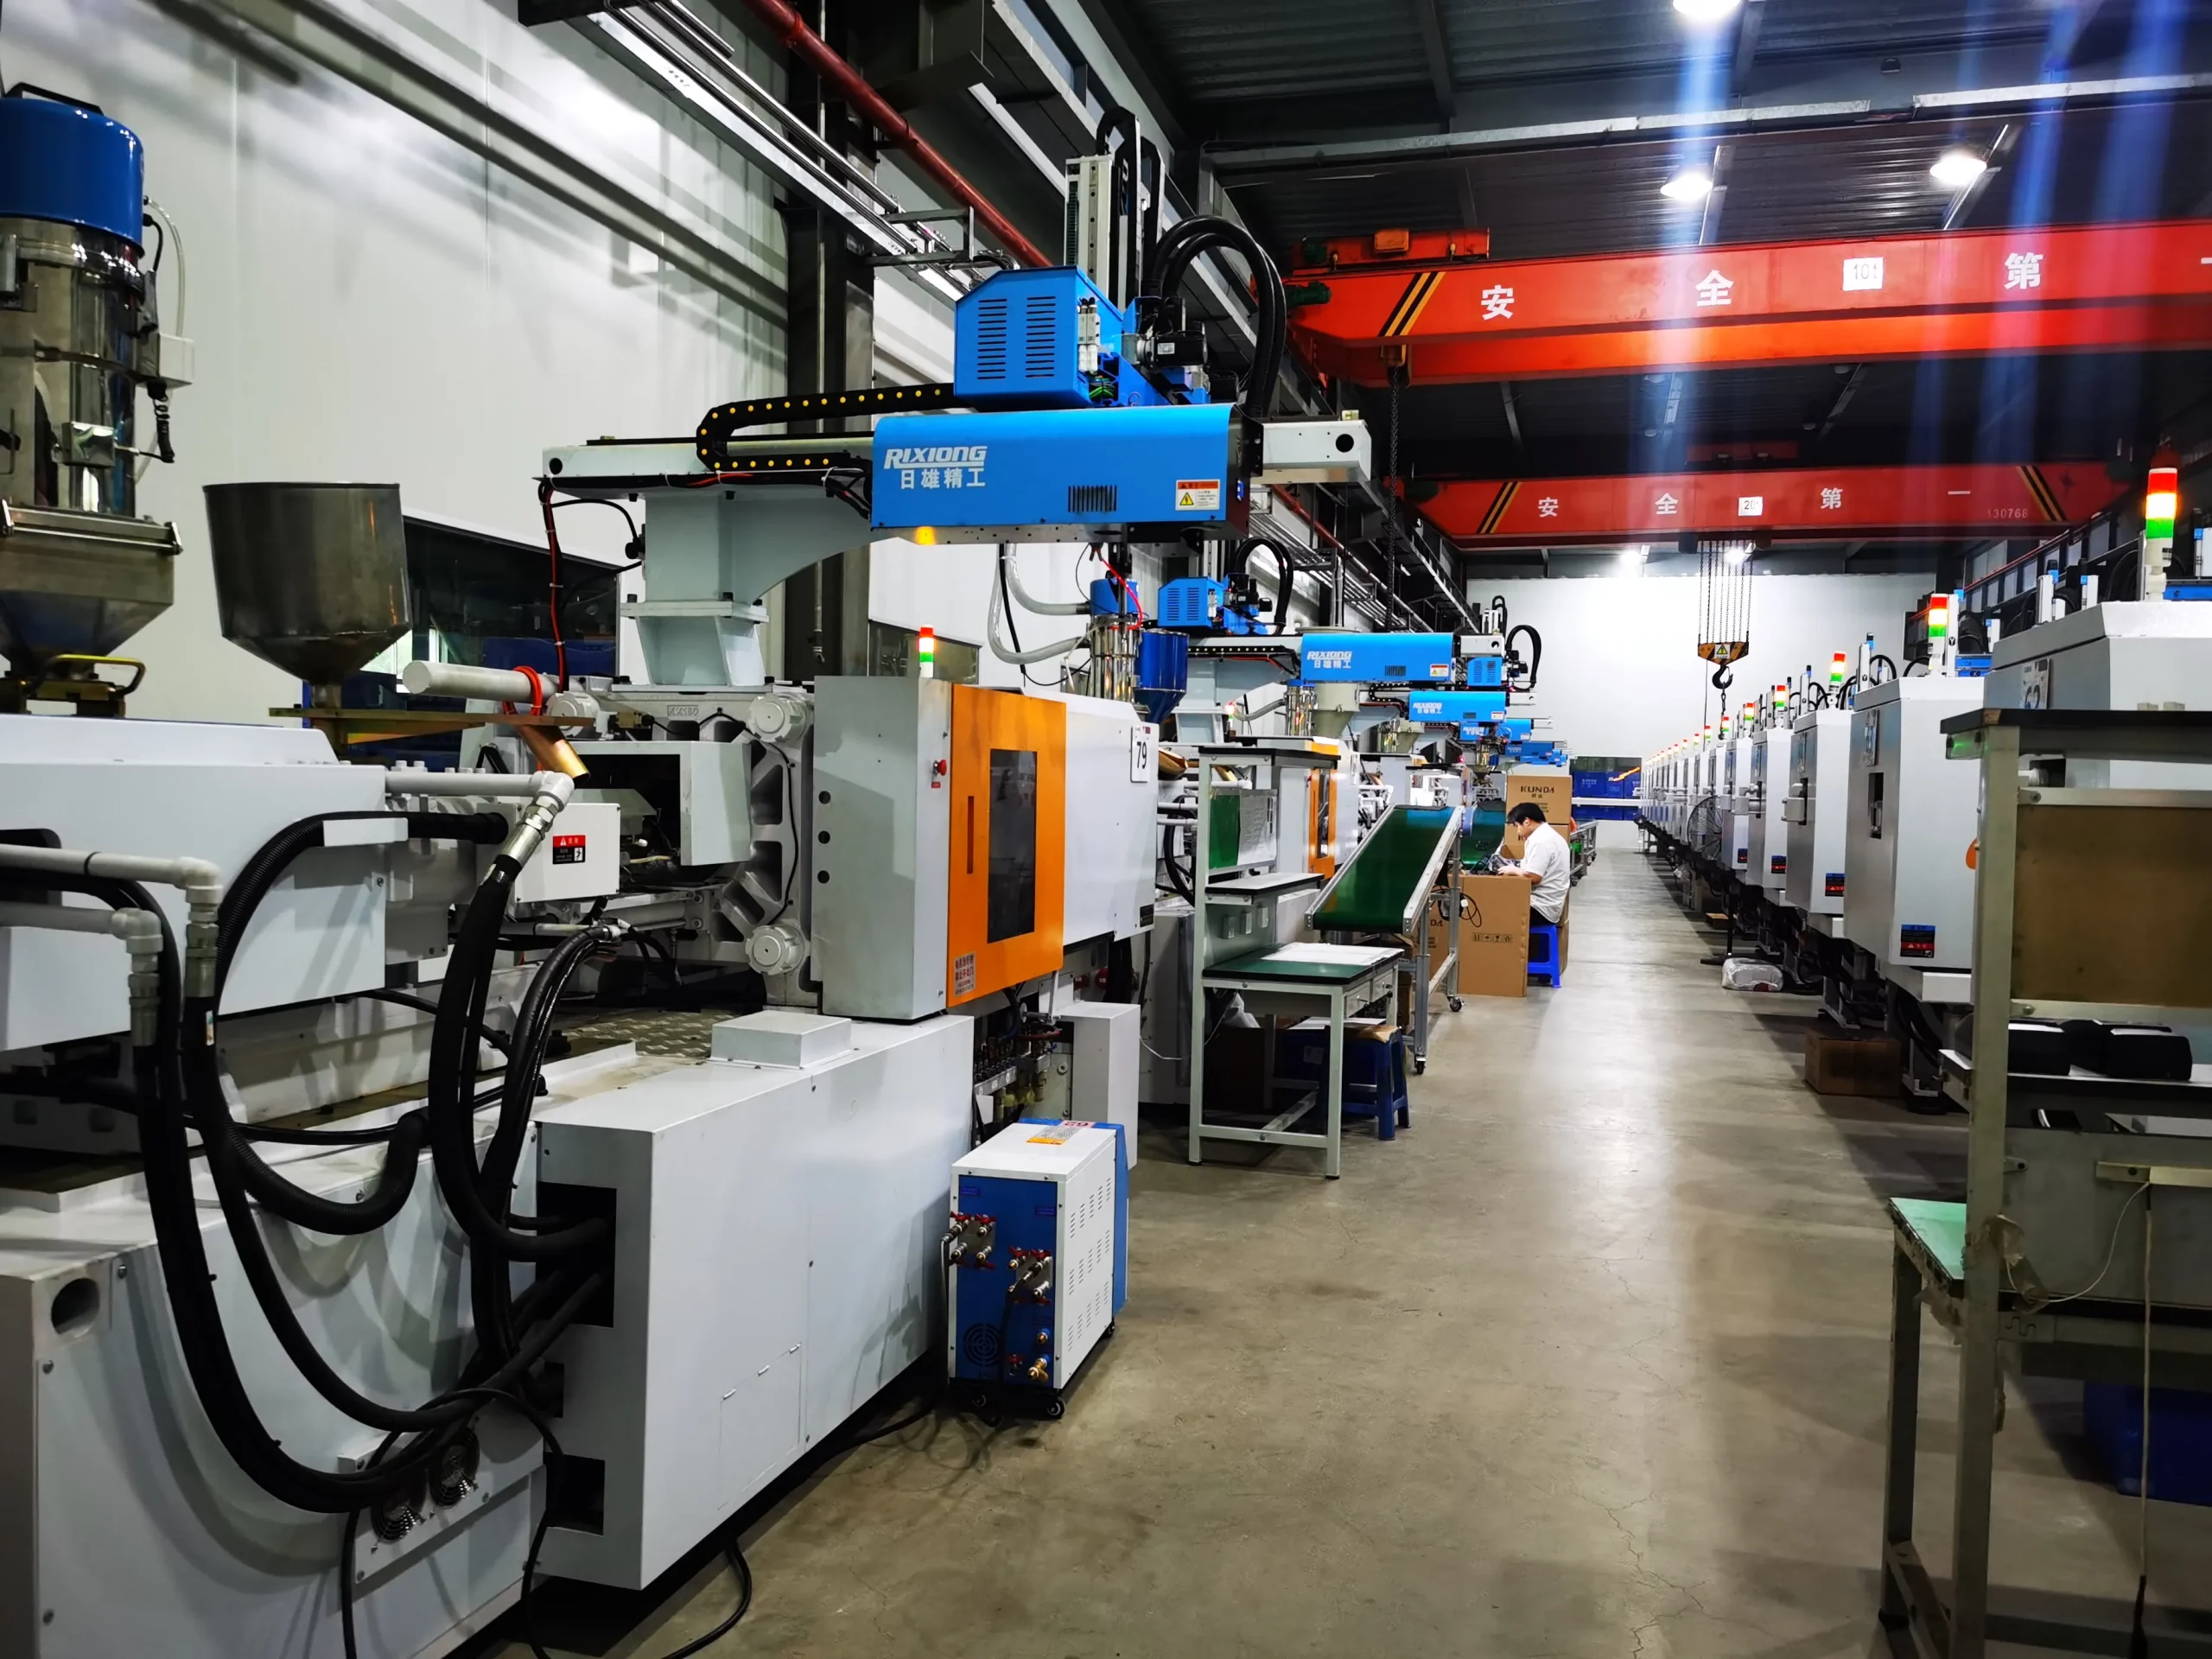
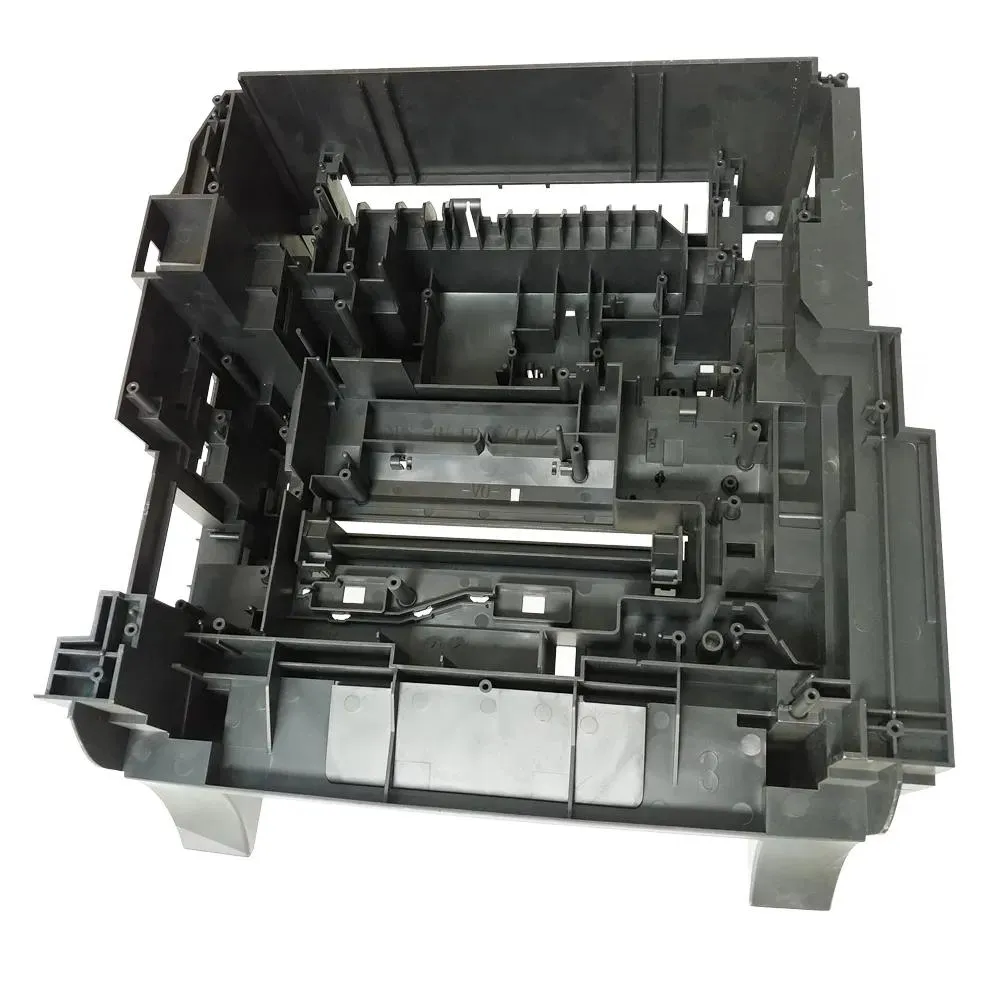
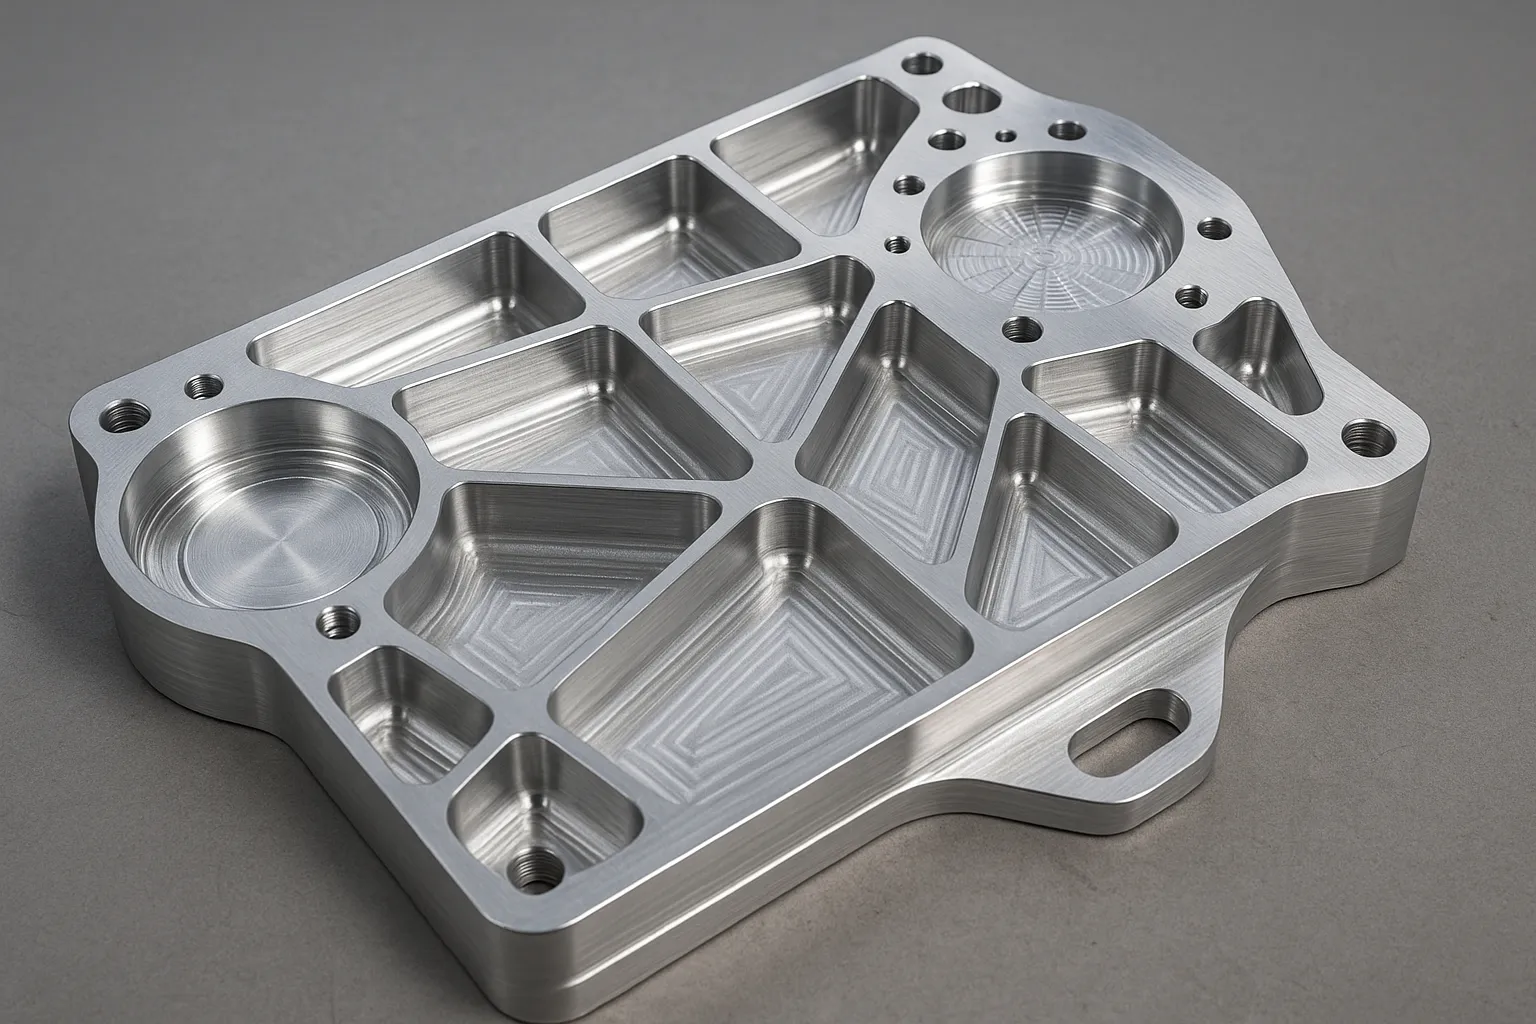
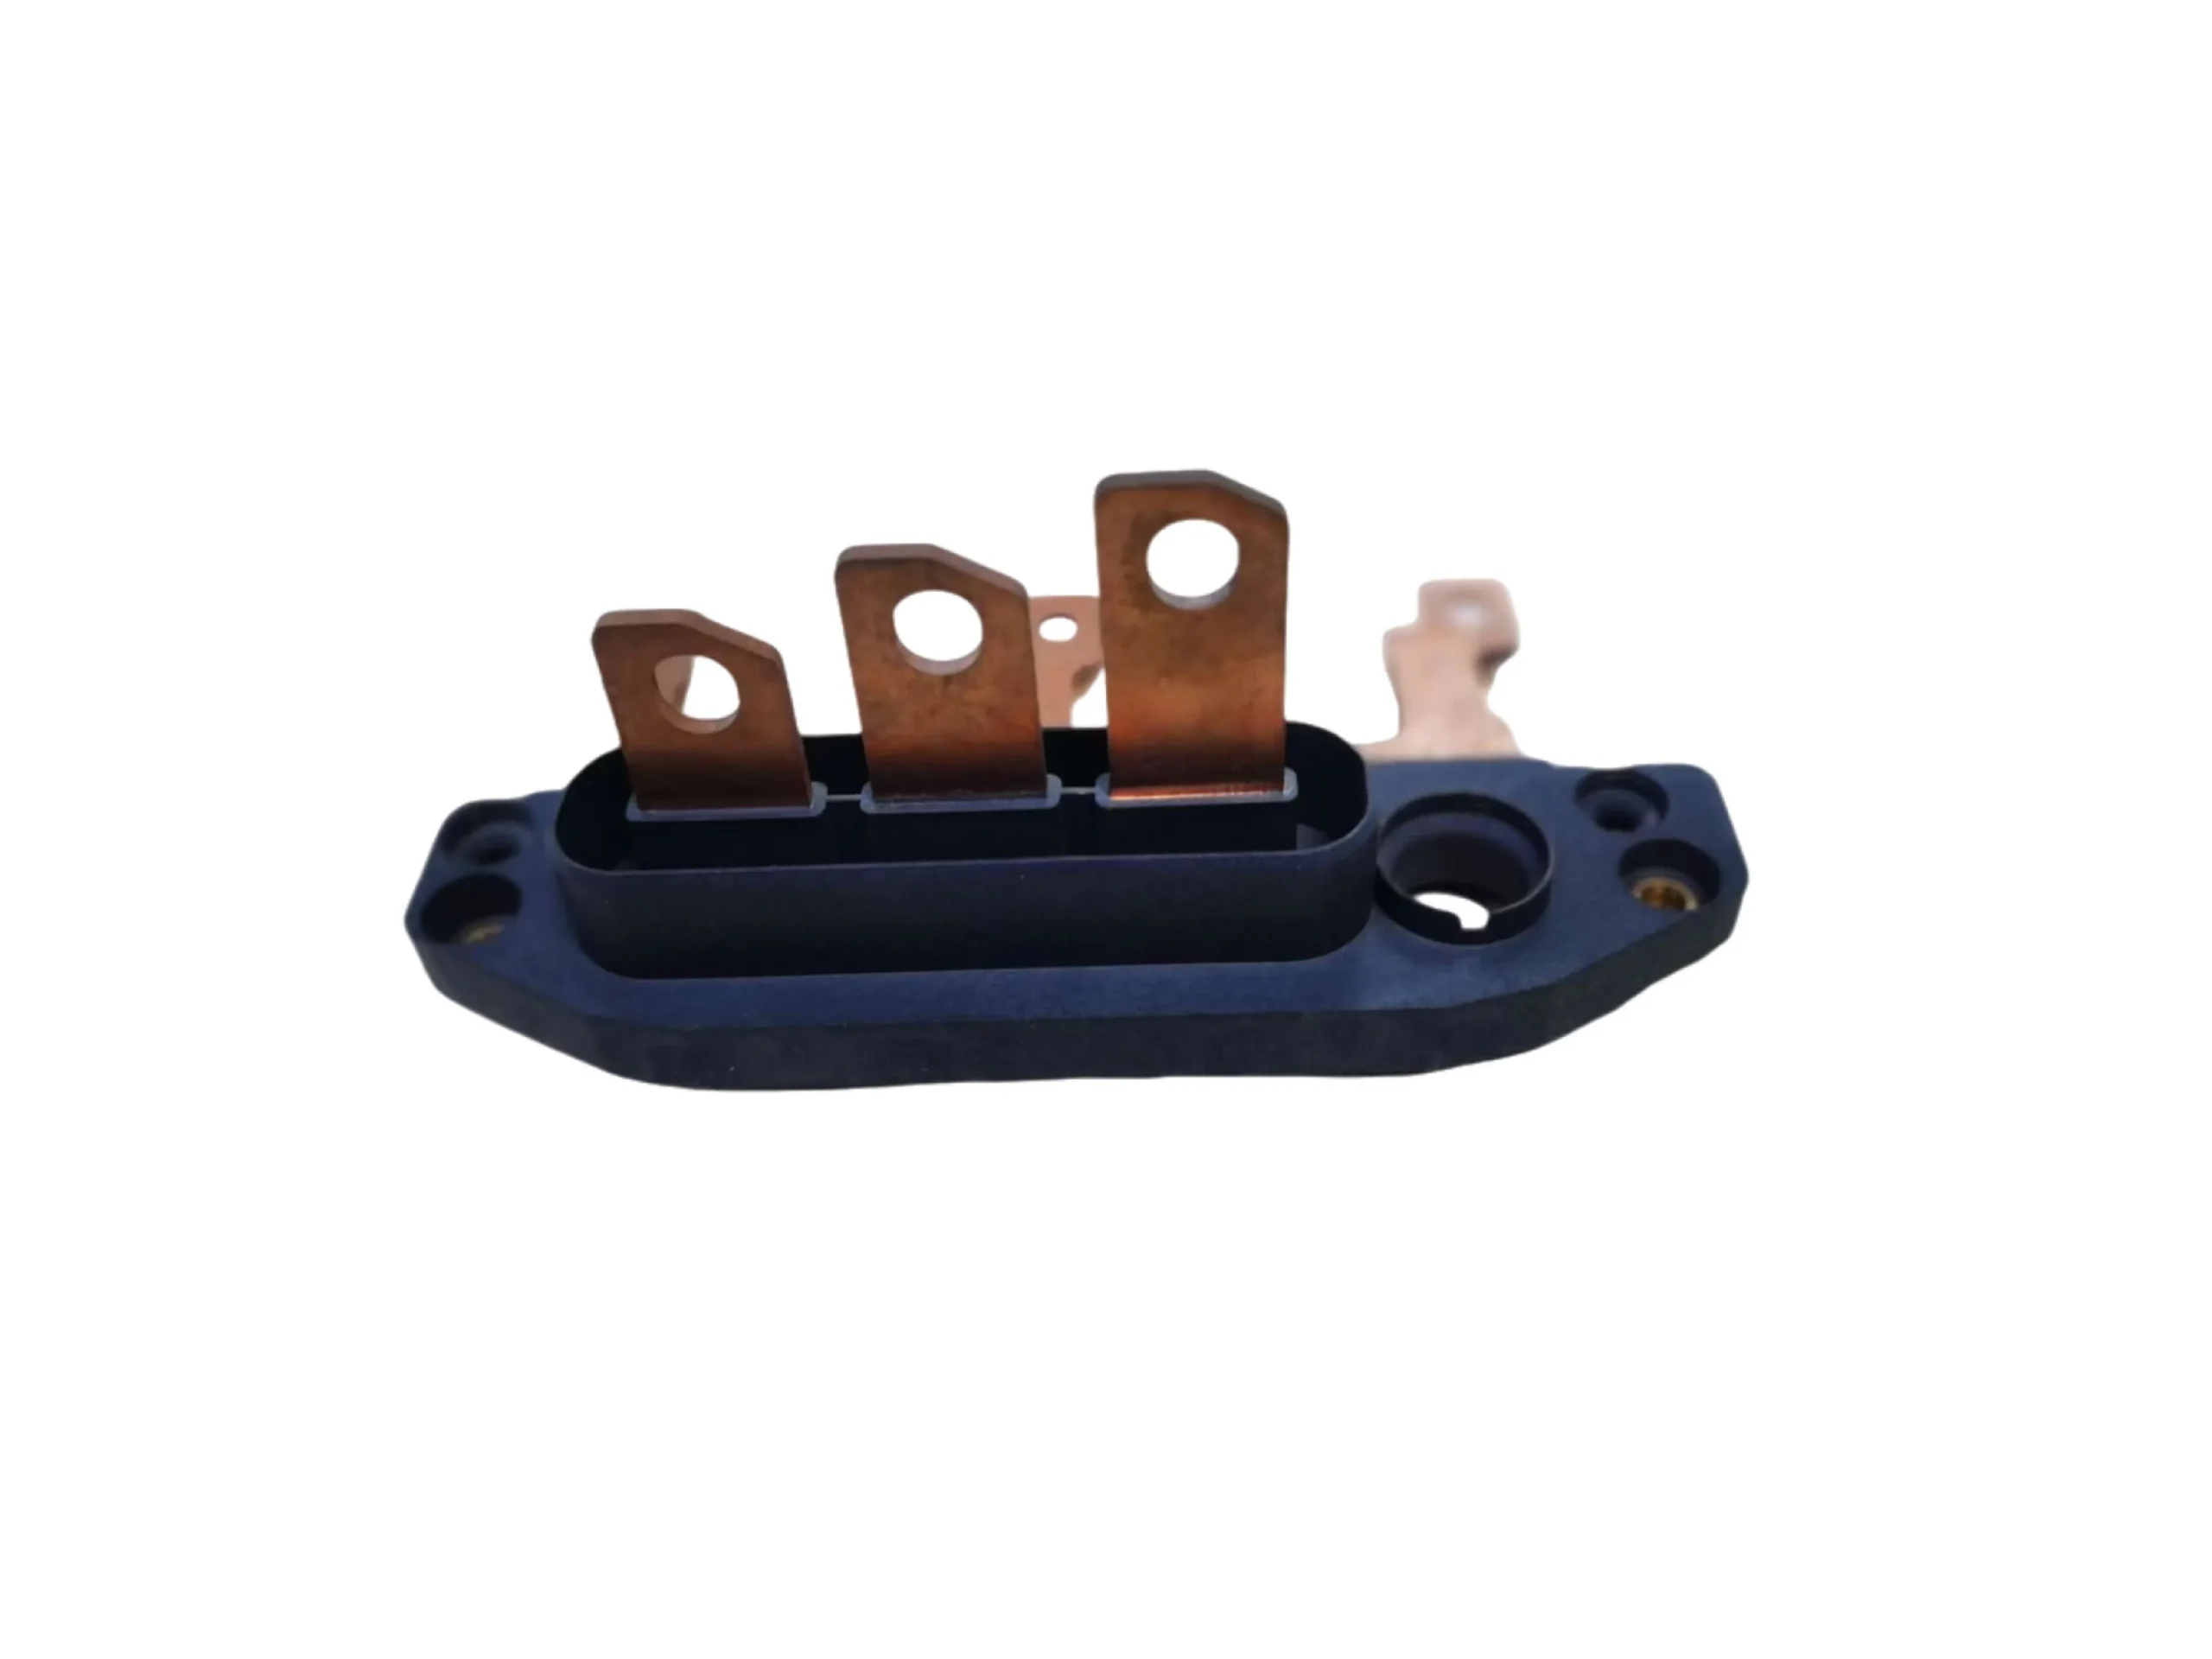
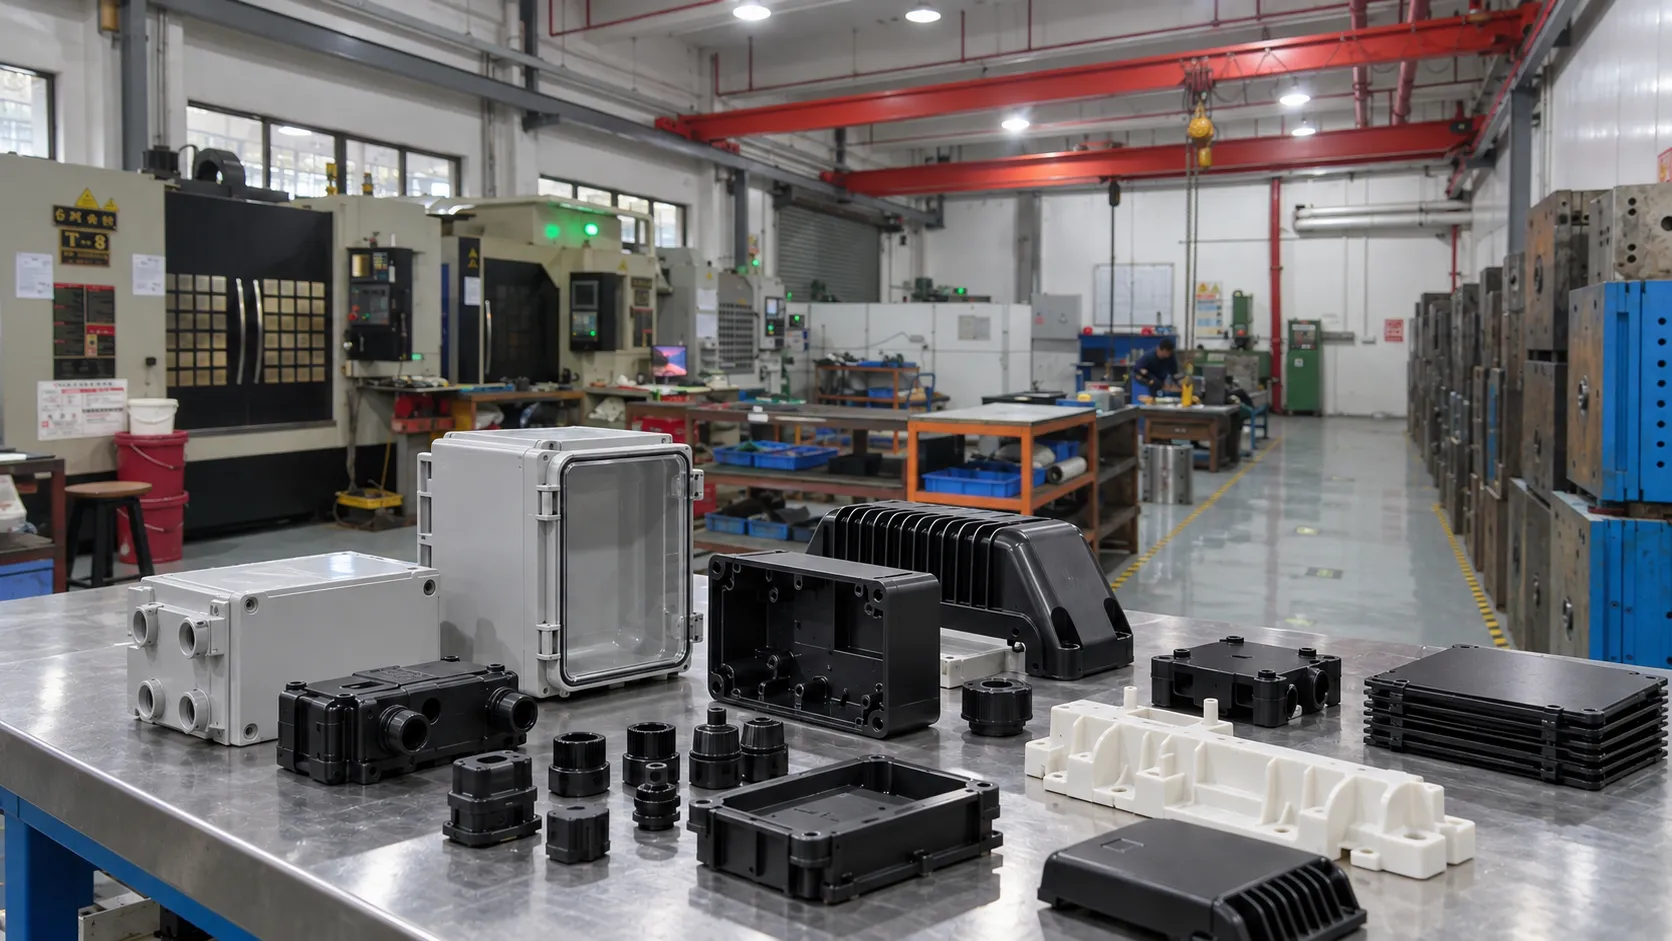
Match the process to the property you are trying to learn. FDM can be useful for quick space and assembly checks. SLA or similar processes can provide finer surface detail. CNC machining can be useful where stiffness, dimensional stability, or specific stock materials matter. Prototype injection molding becomes valuable when you need molded resin behavior, gates, shrinkage, ejection, or production-like assembly.
Do not ask one prototype to imitate every final production property. A fast prototype that answers one high-risk question is often more useful than an expensive prototype that looks finished but hides what it cannot represent.
5. What should be measured during assembly testing?
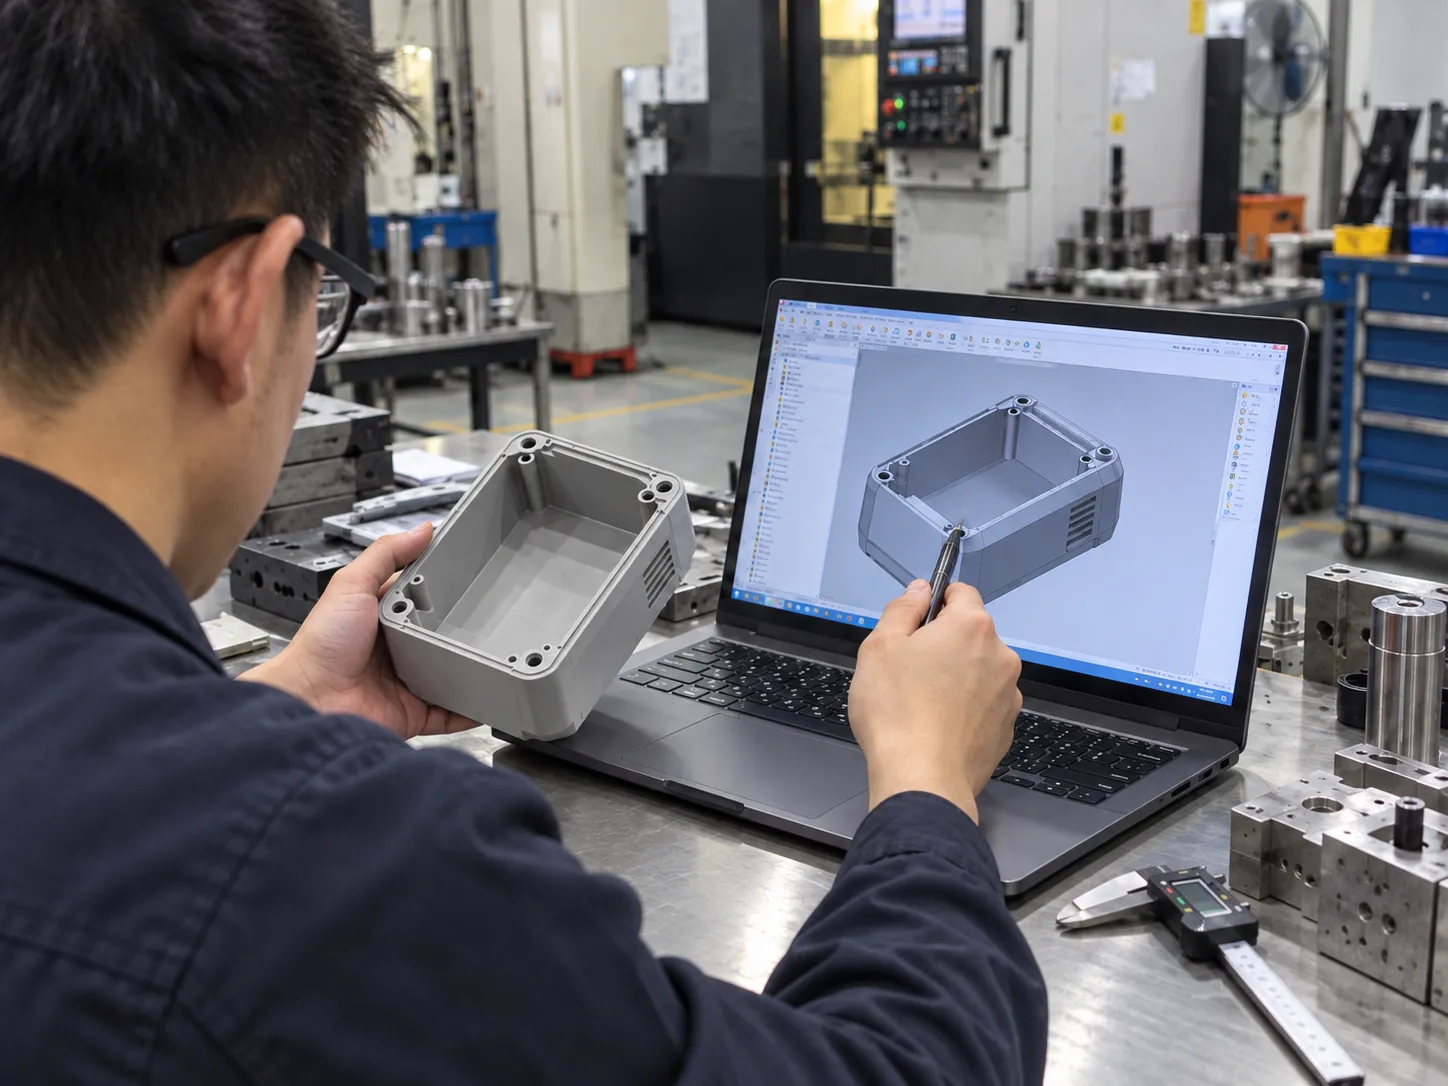
Use the real mating parts whenever possible. Check not only whether components fit, but how they fit: insertion force, screw engagement, clip retention, gap and flush, connector alignment, cable routing, gasket compression, service access, and the sequence required for assembly and disassembly.
If a failure appears, record where it happens and whether the cause is geometry, tolerance stack, material behavior, or an unrealistic prototype artifact. That distinction prevents the team from “fixing” a production design because of a limitation in the prototype process.
6. When should DFM happen relative to prototype testing?
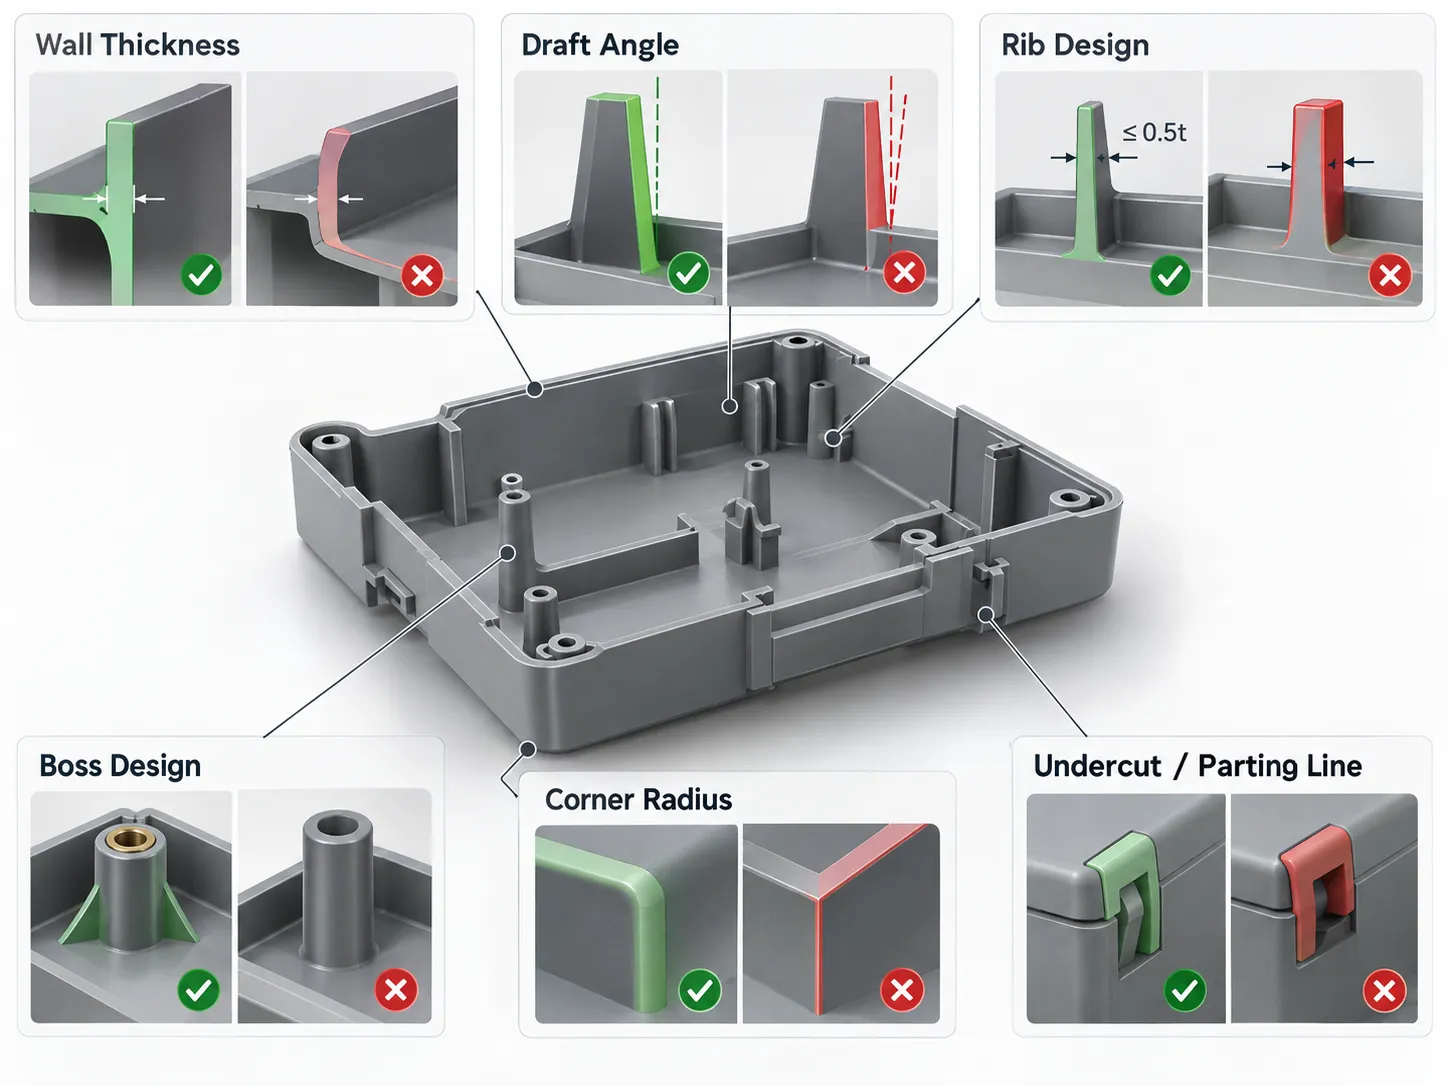
The two should overlap. Prototype testing answers “Does the design work?” while DFM analysis asks “Can this design be manufactured repeatedly?” A clip may work perfectly in a prototype but still be difficult to mold because of draft, wall thickness, undercut direction, or ejection.
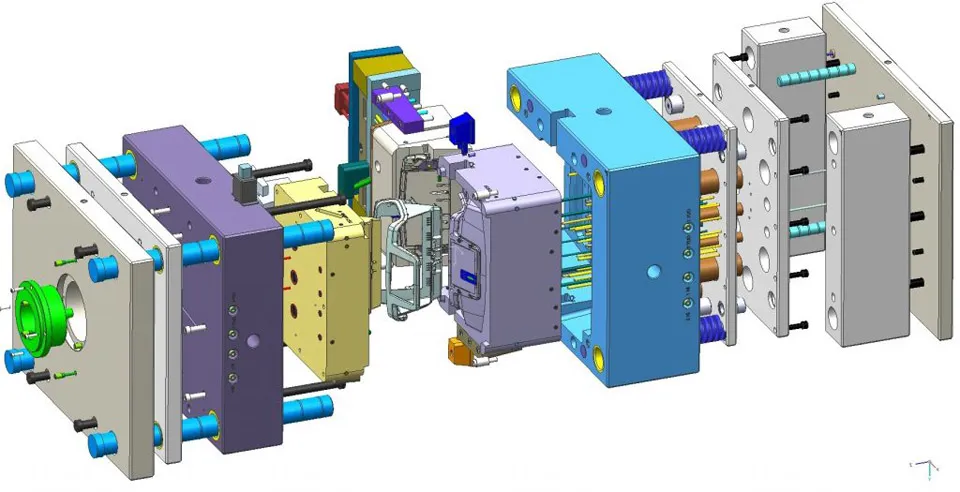
The strongest handoff to mold design happens when functional evidence and manufacturing evidence point to the same frozen geometry.
7. What does a good prototype test report look like?
Keep it short enough that people will actually use it. For each risk, record:
- test question
- prototype process and material
- sample revision
- method and conditions
- acceptance criterion
- result and photos
- failure mode if any
- design action and owner
- whether the risk is closed, reduced, or still open
8. What should remain open after prototype testing?
Not every uncertainty needs to be closed before tooling. Some questions are better answered with production-intent resin, a real molded gate, or the actual mold cooling system. The important thing is to separate known open items from hidden open items. Create a short release note that states what has been proven, what remains unproven, and where the remaining risk will be resolved. For example, a prototype may confirm assembly and sealing geometry while final cosmetic flow marks remain a tooling-stage question. That is acceptable if the boundary is explicit. A prototype program becomes dangerous when the team assumes that an untested property was somehow validated simply because the overall sample looked successful.
What a good outcome looks like
The number of prototypes is not the measure of a good development process. The measure is how much uncertainty disappears before tooling. If each prototype has a defined question, a realistic method, and a clear acceptance criterion, the project gradually converts assumptions into evidence. That is what makes the decision to release tooling easier: not confidence based on appearance, but a record showing which important risks have already been tested.