




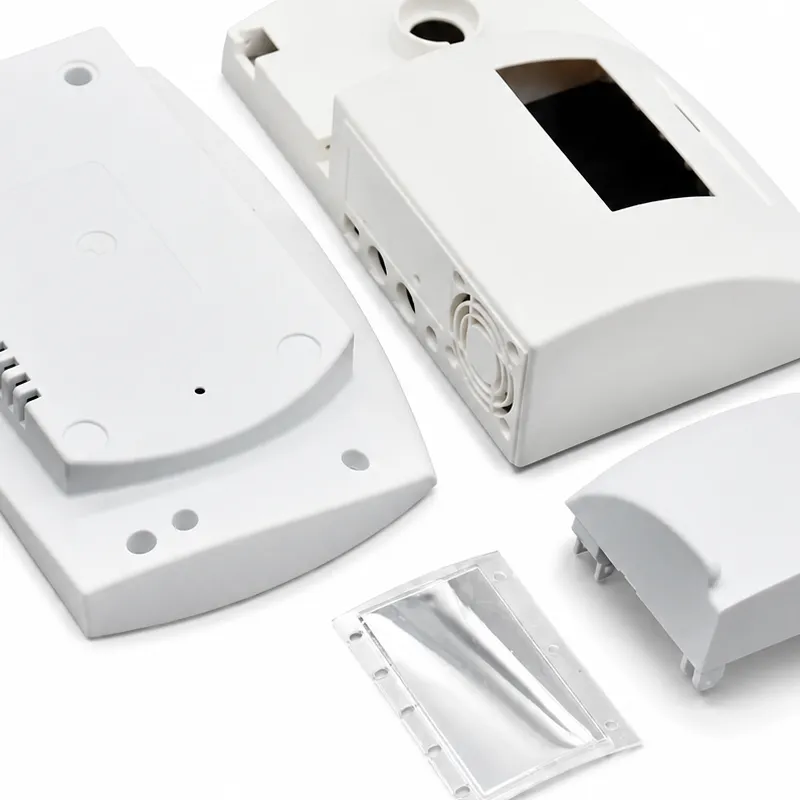
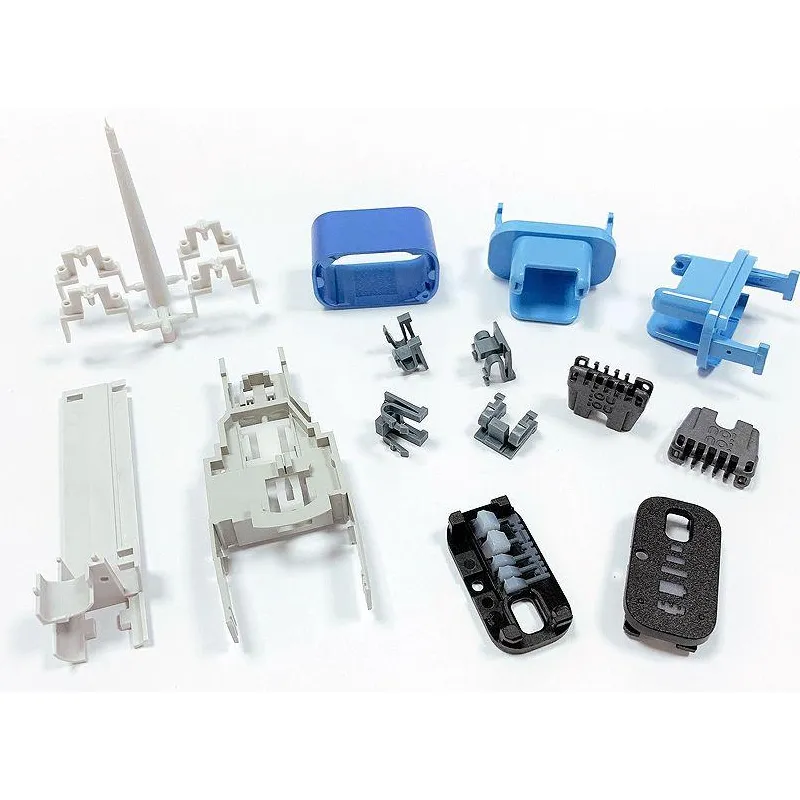
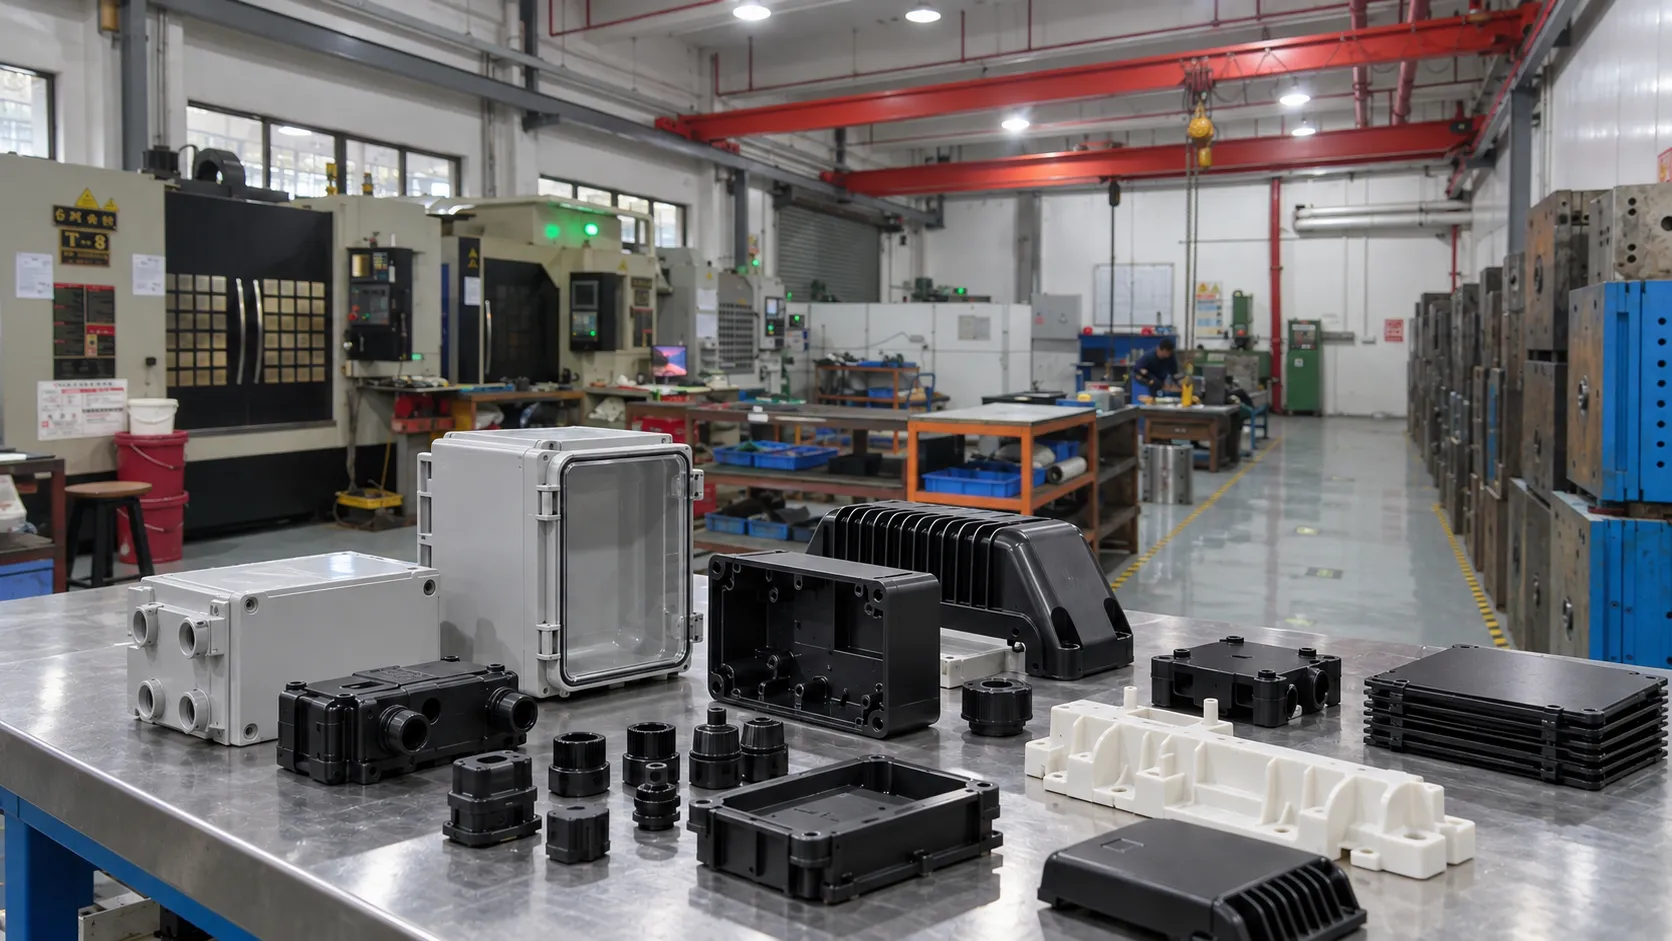


T1 is often treated as a simple pass-or-fail event: the tool runs, samples arrive, defects are marked, and the mold is sent back for correction. That shortcut creates a common problem. Some defects belong to the process, some belong to the tool, some belong to the product design, and some are only visible because the trial conditions were not yet stable. If those causes are mixed together, steel gets changed for the wrong reason.
| Key idea: T1 sample ≠ production sample. T1 is evidence about the interaction between product geometry, tool condition, material, and process. |

1. What should you ask for before judging T1 samples?
Ask how the samples were made. Resin grade, drying condition, machine, mold temperature, melt temperature, injection speed, transfer position, holding pressure, cooling time, and the point at which samples were collected all matter. Early shots taken before thermal stabilization may not represent the final condition.
A serious injection molding review therefore starts with process context, not only photographs of defects.
2. Why should filling stability be checked before dimensions?
If the cavity does not fill repeatably, dimensional data can be misleading. Short shots, unstable part weight, hesitation, burns, trapped gas, flash, or inconsistent weld lines may indicate that the process is not yet in a stable region.
First prove that the cavity fills and packs consistently. Then measure. Otherwise the team may start changing steel to correct dimensions that are moving simply because the fill condition is still changing.
3. How should cosmetic defects be reviewed?
Use agreed lighting, viewing distance, texture, gloss, and color references where appearance matters. Mark the exact location of sink, flow marks, weld lines, blush, scratches, gate witness, ejector marks, parting-line mismatch, and surface distortion.
Then connect the symptom to a cause family: geometry, gate behavior, venting, polishing, shutoff, ejection, or process. Earlier DFM analysis is useful here because it shows which cosmetic risks were already known before tooling.
4. Which dimensions should be measured first?
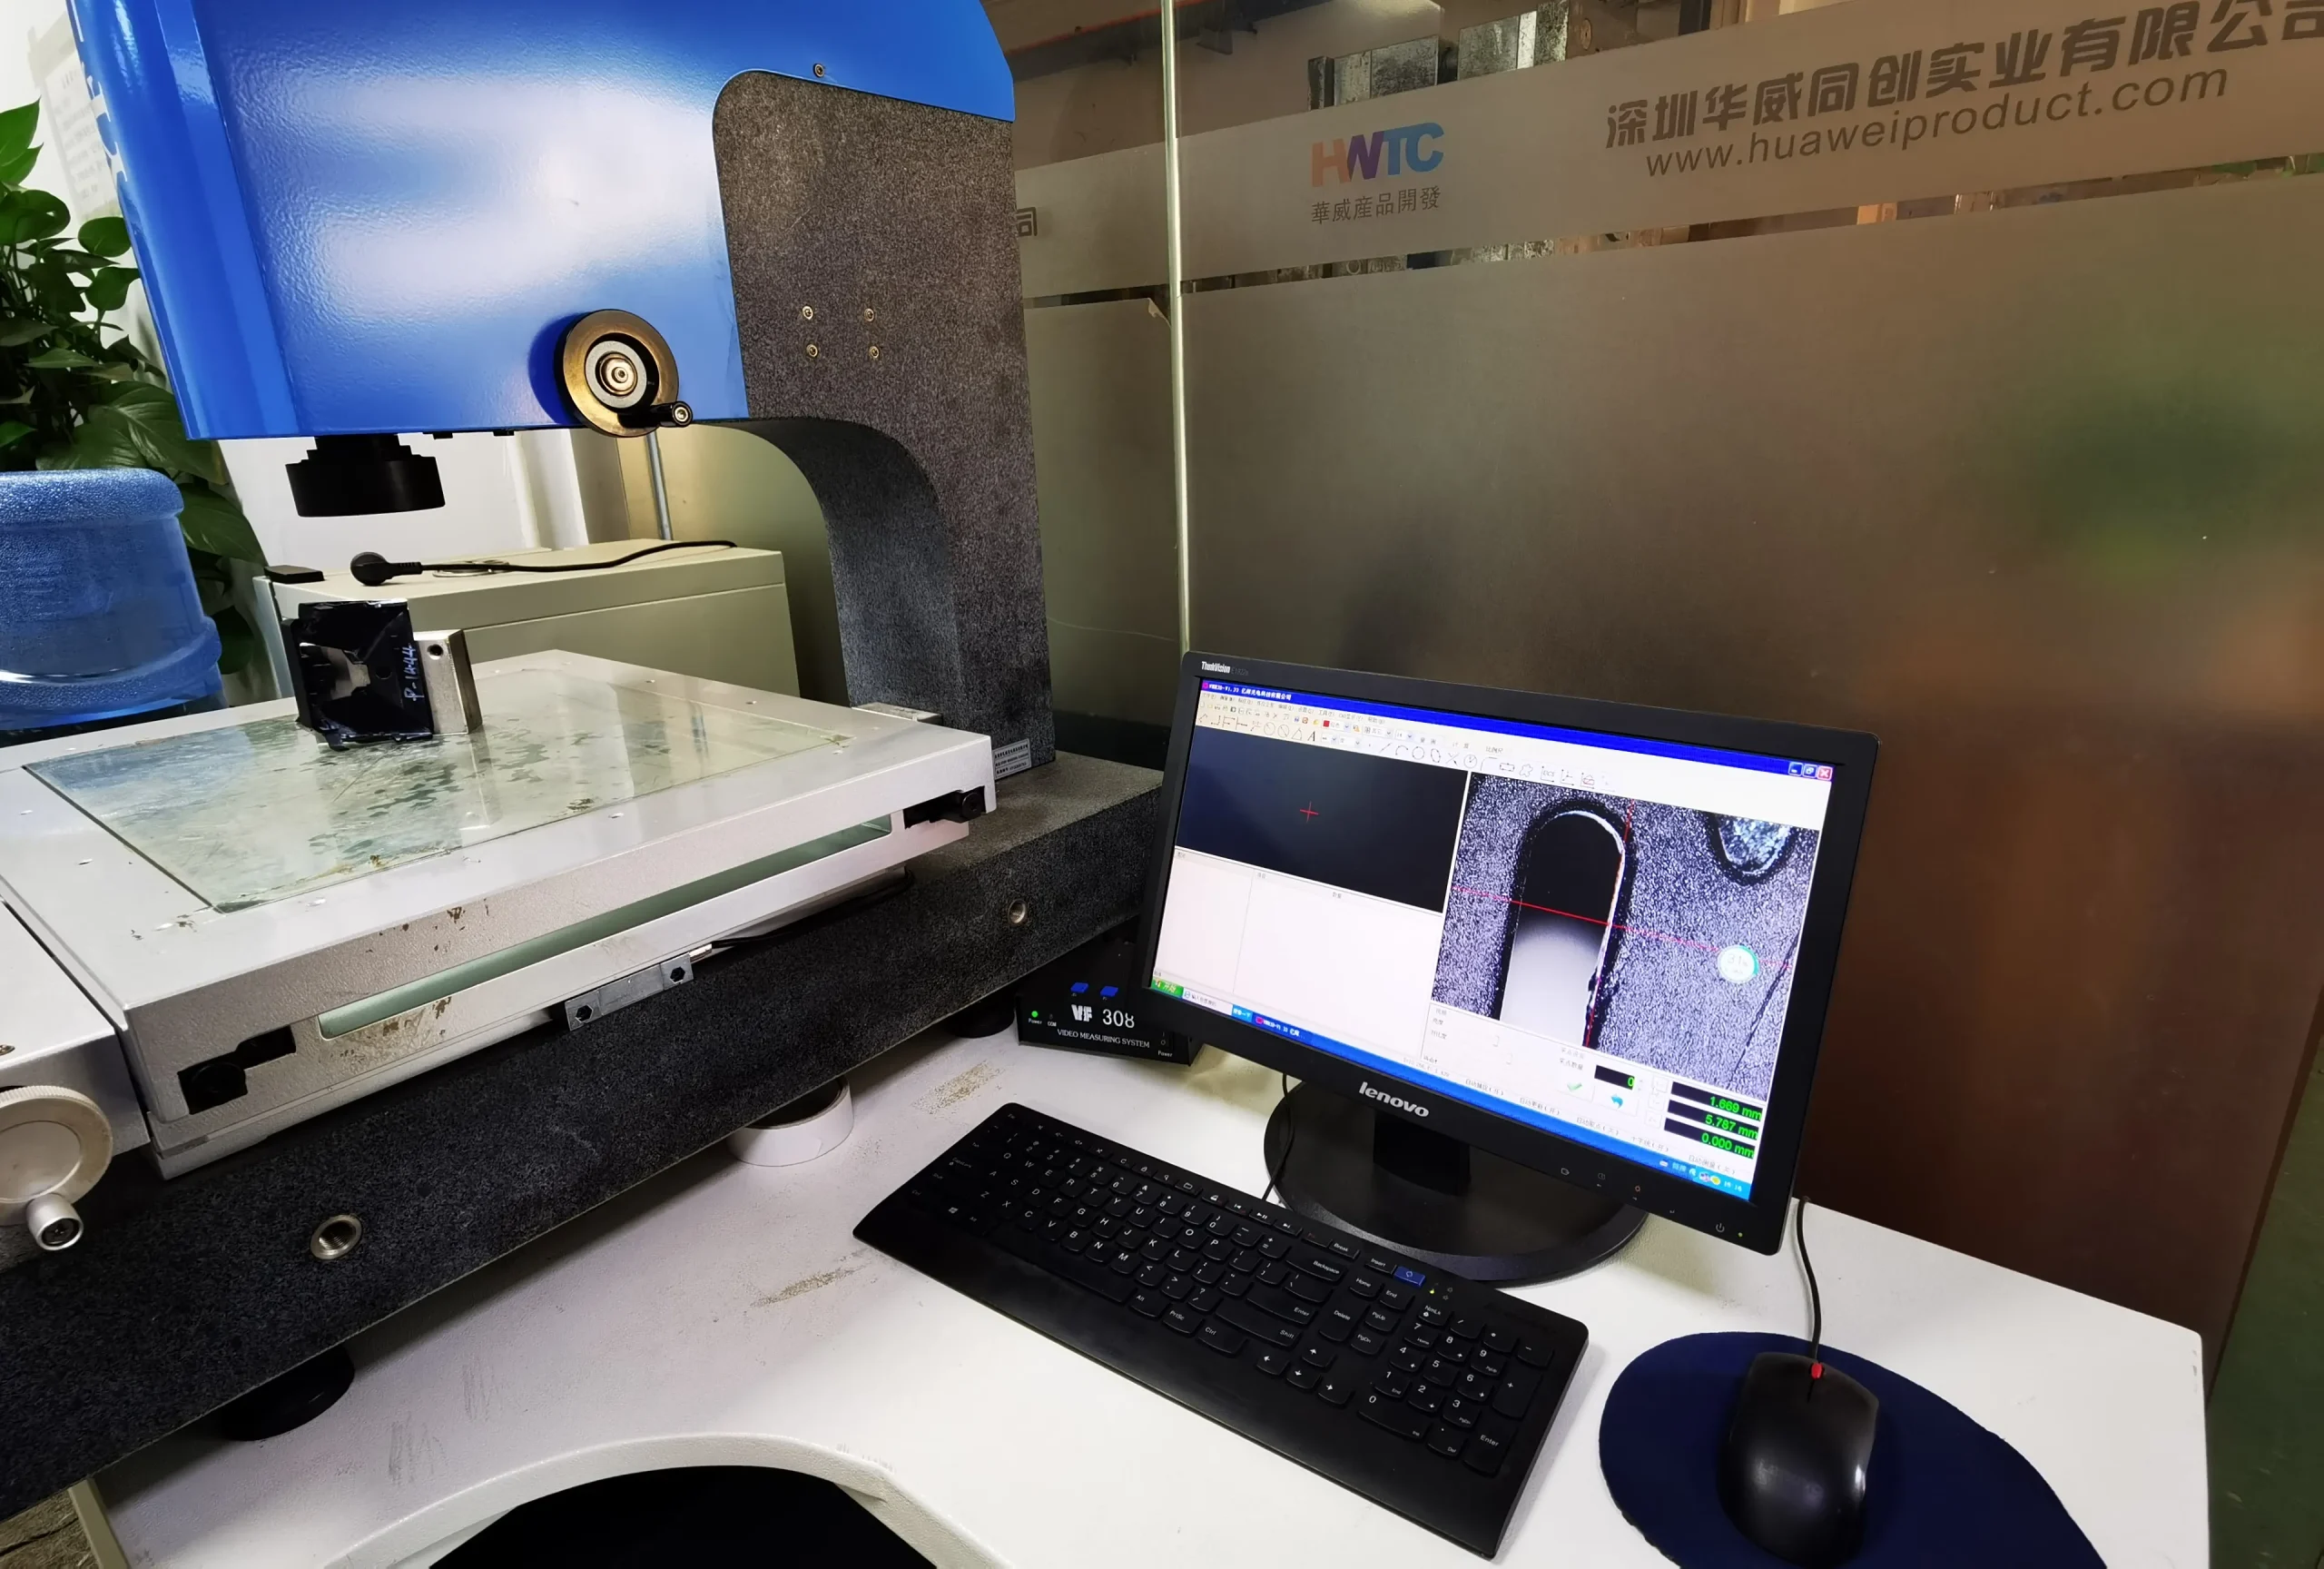
Measure CTQs and assembly-driving dimensions before producing a huge report of low-impact measurements. Focus on datums, sealing features, connector positions, snap interfaces, screw locations, gap-and-flush controls, and dimensions tied to downstream fixtures or assemblies.
If a CTQ is off target, ask two separate questions: Can the process move it reliably without creating another problem? If not, does the cavity dimension or product definition need correction? Those are different actions.

5. Why should the real assembly be built before steel is changed?
Because a part can be dimensionally acceptable and still fail in the product—or measure slightly off and still assemble perfectly. Use production-intent mating parts when possible and check screw engagement, clip force, gasket compression, connector alignment, cable routing, insertion sequence, and service access.
If the assembly fails, confirm the revision and condition of the mating components before blaming the mold. A T1 review should diagnose the interface, not only the molded part.
6. How do you separate process, tooling, and product-design causes?
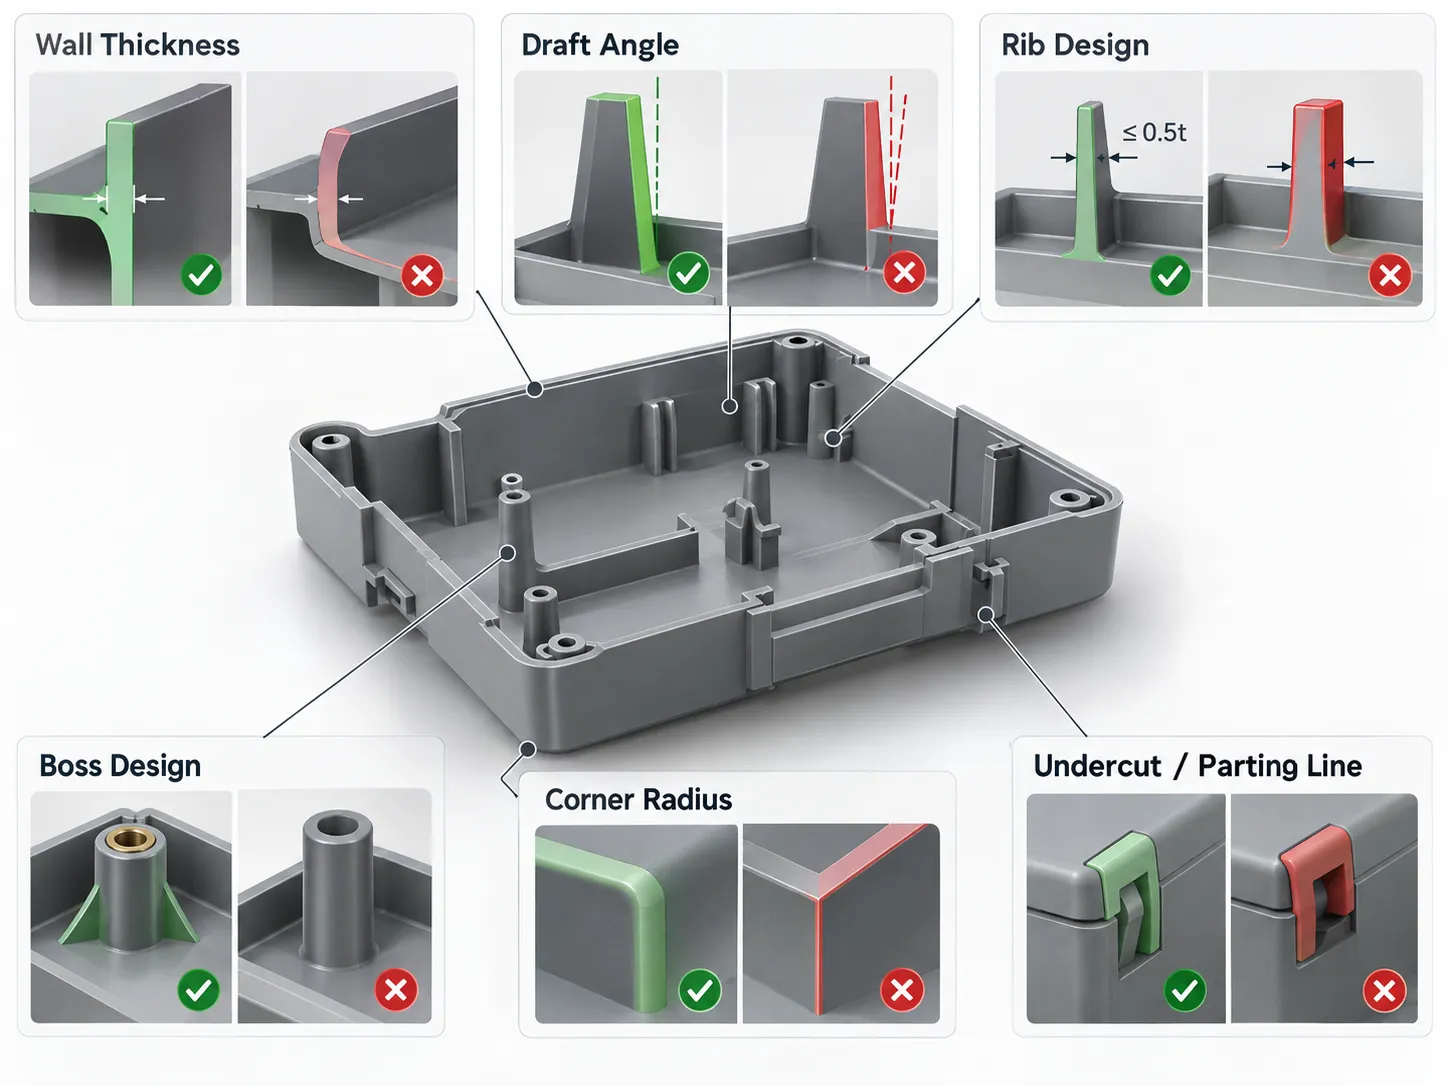
Create three columns and force every issue into one primary cause path. Process: pressure, speed, temperature, timing, cooling, drying. Tooling: gates, vents, steel dimensions, shutoffs, ejectors, cooling channels, polishing. Product design: wall transitions, ribs, bosses, draft, undercut behavior, tolerance stack, interface architecture.
Where the cause is unclear, use a cross-functional engineering review instead of choosing the fastest correction by habit.
7. When should the mold actually be modified?
Modify steel when the evidence points to the tool and the change can be defined in measurable terms. A mold manufacturing correction should say which feature changes, by how much, why, and what neighboring dimensions may be affected.
Avoid instructions such as “improve fit” or “reduce sink.” Those are outcomes, not machining instructions. Before the tool is cut, define what T2 must prove so the correction has an acceptance plan.
8. What should the T1 correction list contain?
A useful correction list is not a collection of red circles on photographs. Each item should identify the symptom, location, evidence, suspected cause, proposed action, owner, and what must be checked again at T2. If steel is changing, record the target dimension or surface condition rather than only the desired outcome. If the item is process-related, record which trial variable should be studied and what result would count as improvement. This makes the next trial a continuation of the same investigation instead of a fresh round of opinions. It also creates traceability when several corrections interact or when the project returns to the same feature months later.
What a good outcome looks like
A good T1 review does not try to make every visible issue disappear as quickly as possible. It tries to identify which system created each issue. Stabilize the process, inspect cosmetics, measure CTQs, build the real assembly, classify root causes, and only then approve steel changes. That discipline usually creates fewer correction loops because every change has a reason and every next trial has a defined purpose.